
If you are new to the flute, this article is for you!
This guide details how to care for your instrument. Most wind instruments contain numerous nooks and crannies where dust, mold, and bacteria can accumulate, and the flute is no exception. Cleaning your instrument is essential not only to maintain its appearance (and potentially its re-sale value) but also for your own health and well-being.
Let’s start with what NOT to do with your flute.
- Don't wash your flute. Water is NOT good for flutes. If the pads become damaged by water, they will need replacement.
- Silver cleaners and disinfectants should NOT be used on your instrument, as they can damage the pads or even cause the metal to rust.
- Grease should NOT be applied to the tenons.
- Don't put anything in your flute case that it was not designed to hold, as pressure from papers or music can bend the rods and keys of your instrument.
So how SHOULD you care for your new flute?
- When you are not playing your flute, DO keep it in its case.

- Brush your teeth before you play, especially if you’ve eaten anything sugary. Sugar can mix with the saliva in your mouth and form a solution that can accumulate on your pads and cause them to stick.
- DO clean your flute every time you finish playing. Your flute's pads will degrade if you leave moisture in the instrument. If properly cleaned, assembling and disassembling your flute will be easy, and you will also avoid problems with sticky pads or sluggish keys.
- A yearly checkup with your local flute repair technician is important for maintaining the adjustments of your instrument.
What is the proper way to clean your flute?
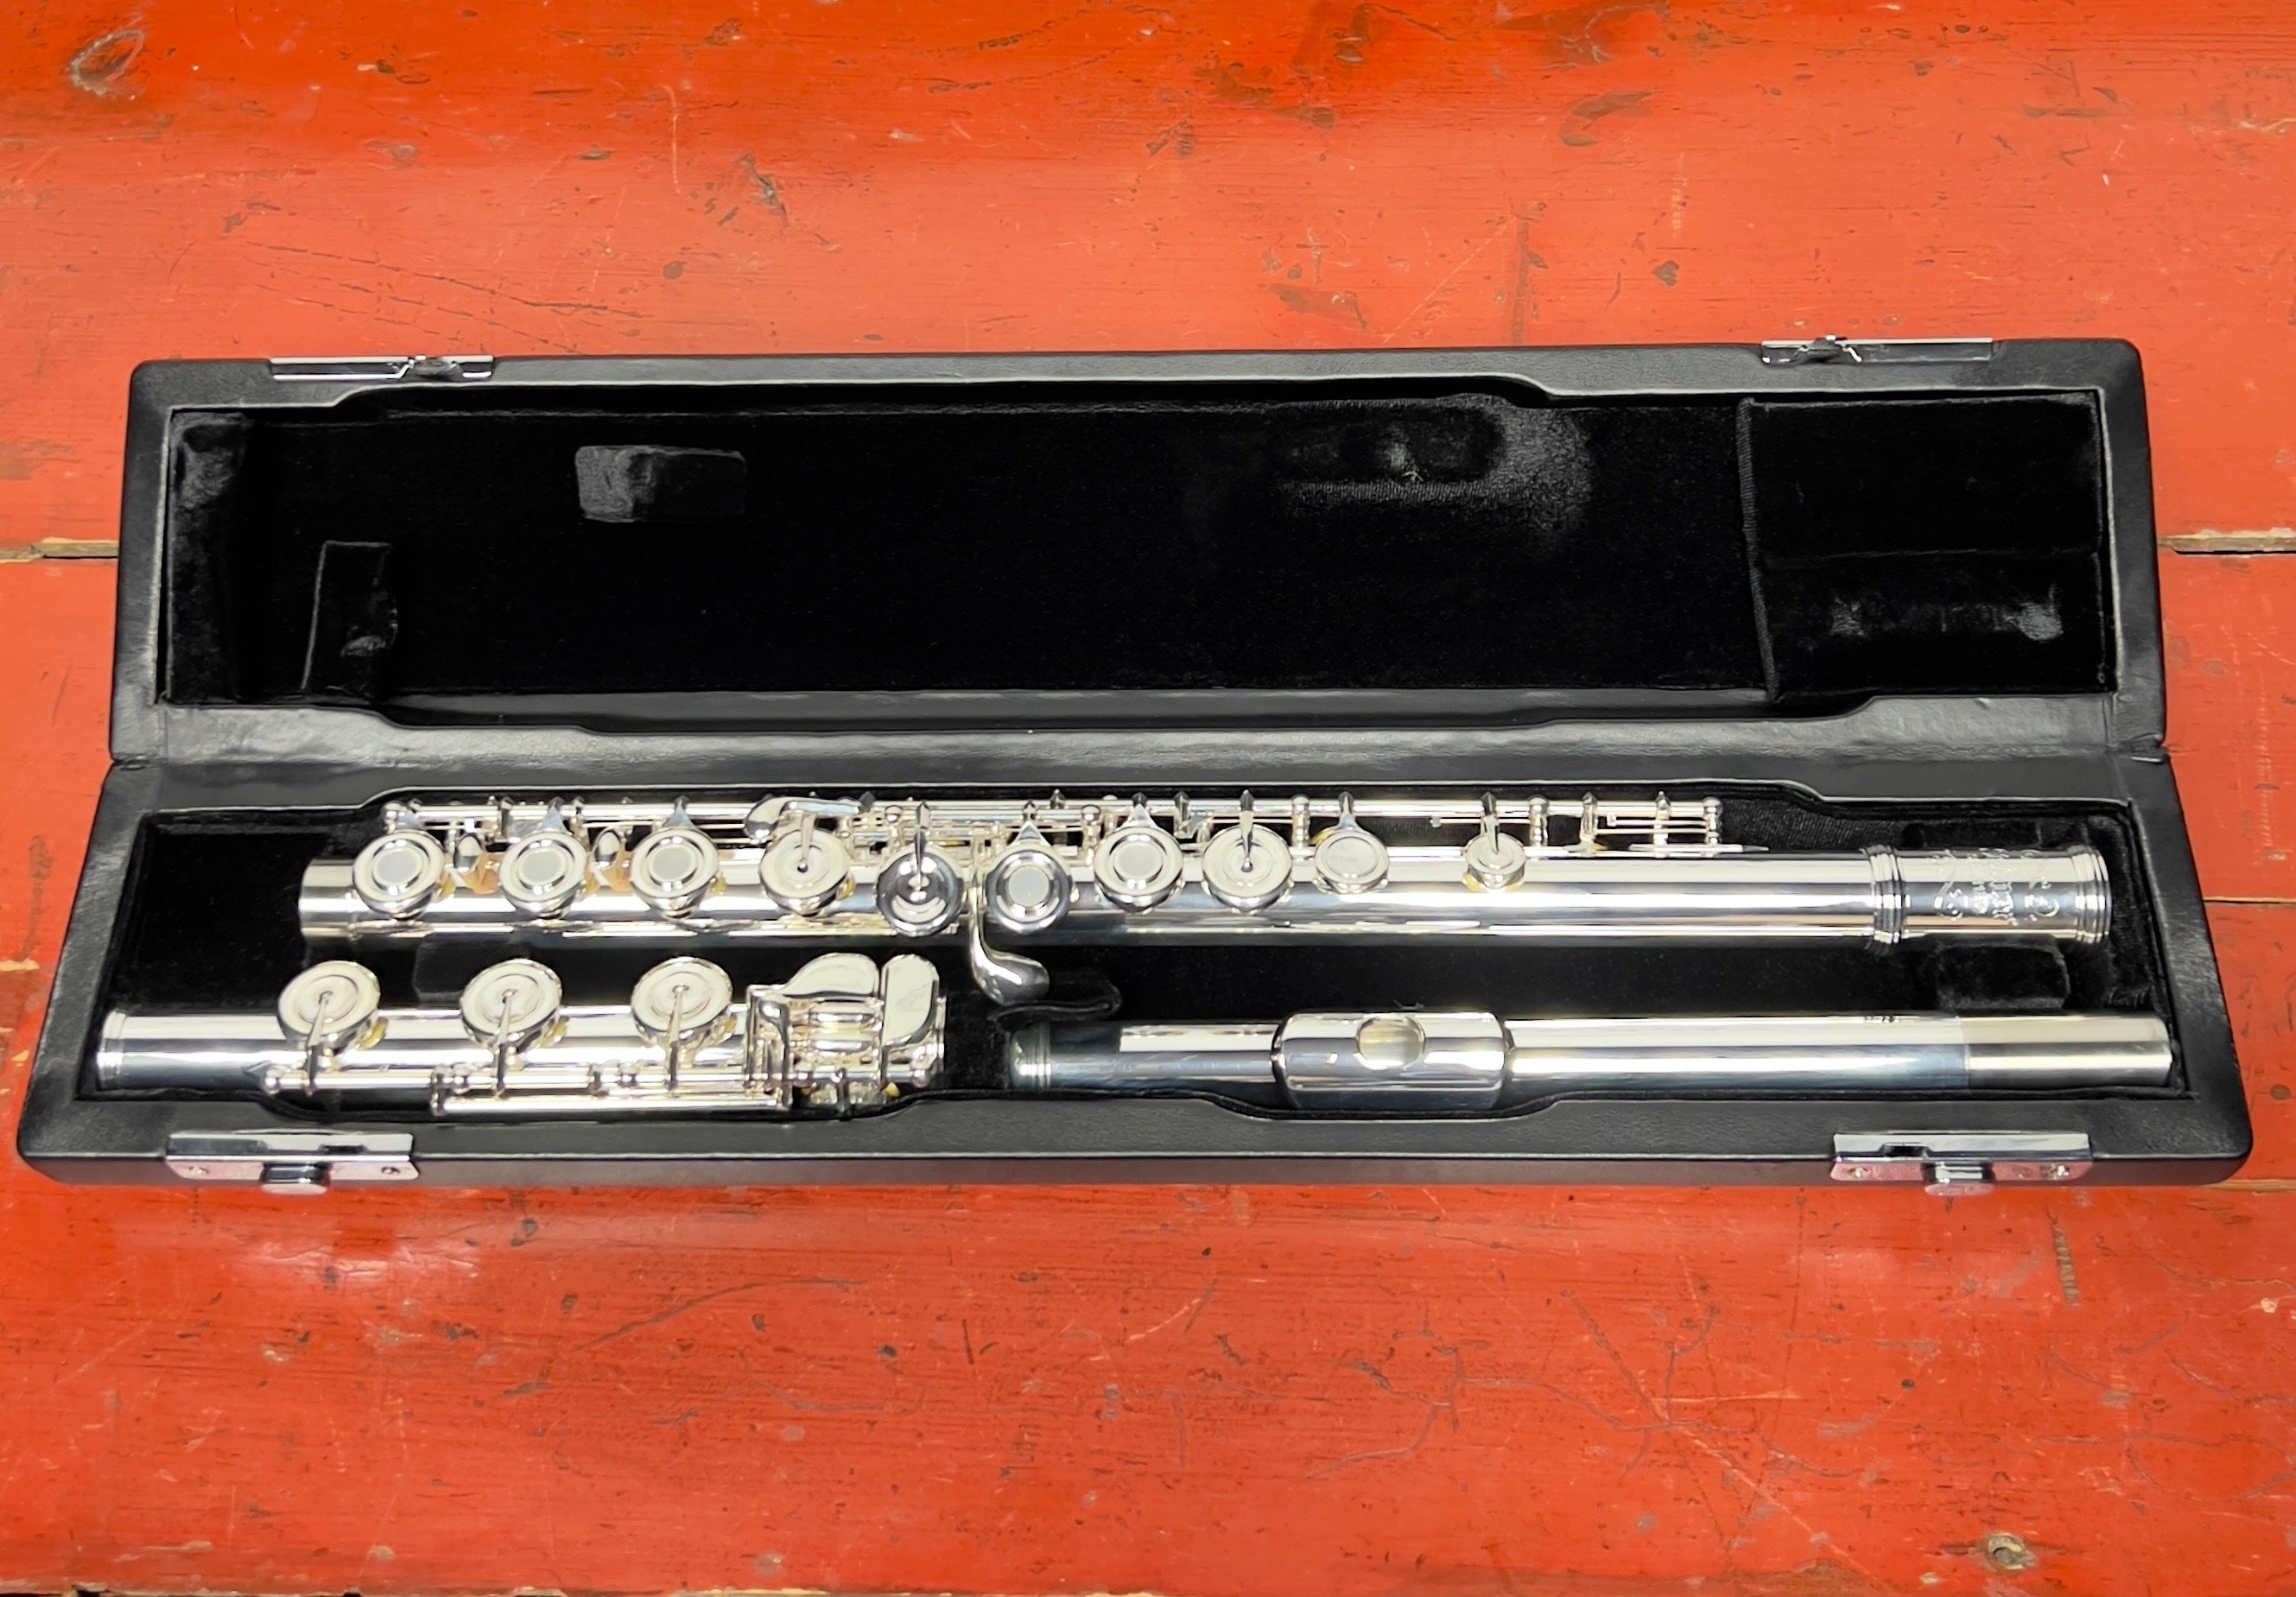
- Take your flute apart. The headjoint and the footjoint of a flute both need to be twisted on and off in order to keep the metal perfectly shaped. This will keep the joints tight so they do not not leak air while you are playing your instrument.

- Thread a small piece of lint-free cloth through the cleaning rod slot. If you do not have a swab, clean cheesecloth works well. Place the cloth over the rod and wind the cloth loosely around the rod. You are now ready to clean the inside of the flute.

- Carefully pick up the footjoint (we recommend starting with what is usually the cleanest and driest piece first to avoid getting the cloth too wet at the start of the cleaning process) and hold it so that the keys are uppermost. Gently pass the cleaning rod through the footjoint, rotating it as you do so. The rod can be passed through the tube as many times as needed until you are confident that this section is completely dry.

- The body of the flute comes next, and can be cleaned using the same method. Gently push the cleaner inside the flute body, twisting slowly. There are many keys on this section, so move the rod carefully to avoid the cleaning cloth getting caught in any of them. Do NOT attempt to reach all the way through the flute from one end; aim for the middle, and then turn the flute around and push the cleaner in from the other side. Repeat the process of passing the cleaning rod through the flute body until you are confident that this section is completely dry.
- Finish with the headjoint. Push the wrapped cleaning rod gently into the headjoint. Be sure not to force the cleaner in. If it doesn't fit, rewind the cleaning cloth more loosely around the rod. Carefully twist the cleaning rod into the headjoint, and when you see it pass the embouchure hole, slow down. Stop as soon as you feel it has reached the tuning cork at the top end of the head joint. The tuning cork needs to be precisely placed, so you must be very careful not to disrupt this while cleaning. Carefully withdraw the rod and repeat until you are confident that this section is completely dry.
- Now that the inside is clean, it's time to clean the outside! Carefully rub down the three pieces of the flute, one at a time. Try to avoid getting too close to the rods, as there are springs under them, which if caught can require adjustment. Use long sweeps rather than small rubbing motions to create a more consistent shine. Continue until you have removed all fingerprints and other marks. Polishing the flute in this way will also reduce tarnishing and erosion.

- There is one final task to complete before putting the flute away in its case. Gently wipe the tenons at the end of each piece (where the flute joins together). Grease and dirt can easily accumulate there, causing difficulty assembling or disassembling the flute. A quick wipe will suffice!

- Optional: Some players like to use a device called a ‘pad saver'. This remains inside the flute, soaking up any moisture that accumulates while the flute is not being played. If a pad saver is used, it should only be inserted once the cleaning process described above has been completed.
Congratulations! You've successfully cleaned your flute.
We hope your new instrument brings you many years of enjoyment.
Please don't hesitate to contact us if you need any advice or have questions!


Share:
Making a New Key Foot/Hinge Tube for the low D Key of a Selmer Alto Sax
How to Care for Your Piston Brass Instrument: A Simple Guide for Beginners